I’ve been working on a project to improve my professional presentation while on cam. One of the first things I wanted to do was to try to clear the “blur background” setting that can be found on almost all major videoconferencing platforms. After reading a ton and learning about chroma filters, I quickly learned that I needed a “green background” to achieve this.
Here is a little bit about “green screens” and why they are used. Wikipedia Article
Decision made to get a green screen, I started researching into the best models / makes, etc.. They vary greatly in size, price, material, etc… Here are links to some of the models I looked at.
Options that I considered:
Elgato Green Screen (very pricy, but great quality! I may still get this for a portable setup)
Muslin cloth green screen (There are many options similar to this on Amazon. This is just one option)
Green Screen Wallpaper (Novel idea! but, I am kinda turned off from wallpaper. Long story….)
Collapsible chroma background (Just one example, there are many clones. Convenient and removable)
Full studio “all in one” (this was VERY tempting… might be a great deal! But, I didnt want to use cloth this time)
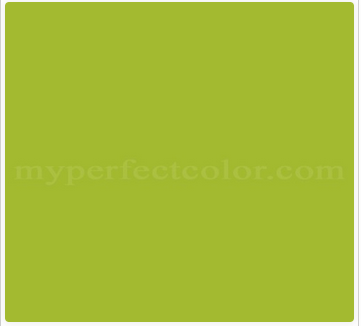
While I’m sure that many of these work great, the solution that I decided to go with was to create a new workspace for myself, paint the wall in an appropriate color, and essentially build my new office into a hybrid studio/office solution. This is color I ended up going with. Special thanks to digitalrakkit for this idea. The color ended up working beautifully! You can pick it up at any Lowe’s.
The next step was to start working on the space. I had a currently unused room in my basement that seemed like the perfect fit for a new office / workspace for me, and happened to have two walls that would I thought would work for an appropriate sized background. The ceilings in this room are 10″/3m high, and I wanted to be able to use my entire setup with a standing desk converter, so this seemed like my best option. Wall 1 is 72″/1.8m wide. Wall 2 is 84″/2.1m wide. I started looking into “L-shaped” desks that would fit in this space, and didn’t find a lot of options. Ultimately, what I decided to do was to go with 2 folding tables with spandex covers. These fit the space that I needed, would accommodate my standing desk converter, and would give me sufficient workspace for all of the various projects that I get myself wrapped up into. Table 1 is a 2footX4foot and this fits the standing desk perfectly. Table 2 is a 2.5footX6foot and this is the workspace / work bench. This is what they ultimately look like after arranging and covering. You’ll have to pardon the ancient work bench lights. They’ll be replaced soon with something less… unattractive 😉 I used what I had on hand for the moment.


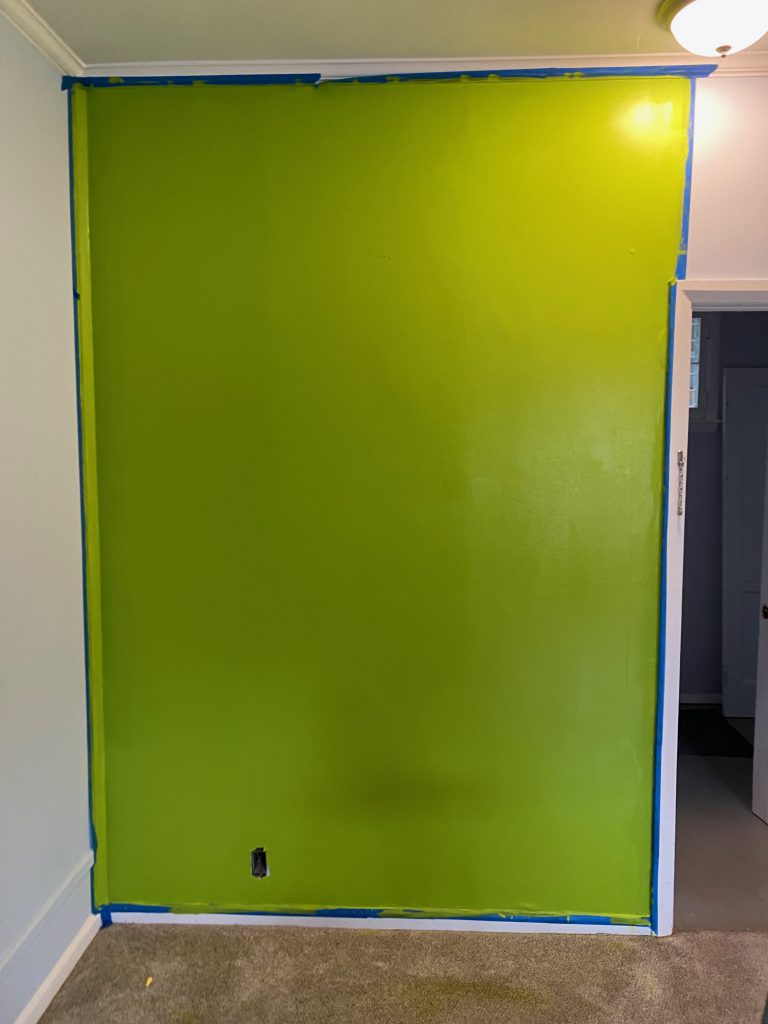
Painting went about as well as one could expect. I quickly learned that you REALLY want to use a dropcloth with this color paint! Also, I had to use two thick coats to achieve the even color that you see here. For these two walls, I used almost a whole gallon of paint!
I also added blackout curtains to all of the windows in this space. Thankfully they work well enough as I didn’t want to end up working in a dungeon. I can go from naturally lit to almost complete darkness / movie-set dark in about 4 minutes. Perfect!


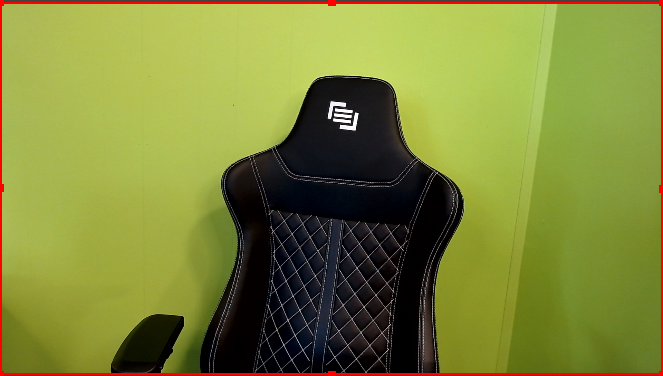
At first, the idea was to paint only one wall, and use the smaller wall for the green screen (See above). I soon learned that for 1080p and 720p, this just simply was not big enough, and I ended up painting both walls. This is what the camera uses for a 1080p shot. Notice that the corner gets involved here.
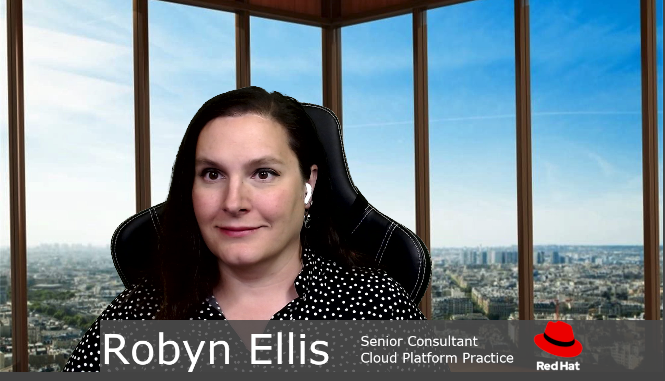
Ultimately, I am very happy with this set of walls 🙂 They work just fine when lit appropriately, and I am able to achieve this on a live web meeting using OBS (image below). In the next parts, Ill show you how to setup/use OBS, how I setup my casting gear, which gear I am using, etc.. etc..